Wednesday, March 30, 2016

TURMERIC: A HEALING PERSPECTIVE


I don’t know if I should call this coincidence or something else. I am on my laptop working on this post (it’s been in the works for a couple weeks now) and my phone beeps. It’s a text from a dear friend and neighbor asking if I have any turmeric and if she can borrow a teaspoon of it. So of course I call her to find out what she needs it for (maybe I inspired her to cook some Indian Food :)).

She has been in a lot of pain from tendinitis in her thumb and wrist and she has been looking for some natural remedies. After some research she came upon an article that said to use it topically on the affected area. I went over to her house to deliver the magic potion and you can read the rest below to find out the healing powers Turmeric.

I will link to the Ingredients so you can find them easily.

Fresh, raw Turmeric Root


Raw Turmeric Root and Turmeric Powder

The term that comes to mind when I think about Raw Turmeric is “Superfood” but in the recent years the term has been tainted and overused by advertisers and marketers alike.  Every few months you see a new superfood spotlighted in the grocery stores but Raw Turmeric has been used in Indian Culture and Cuisine for centuries. It’s one of the major ingredients in Indian cuisine and Ayurveda. According to Indian belief and research, Turmeric and its primary compound Curcumin have profound healing benefits for the entire body. So, whenever someone got badly hurt or was recovering from surgery Milk with Turmeric (latte style) was the first thing they got to drink since it helped heal faster.

Benefits of Turmeric
  1.  It’s a Natural Anti-inflammatory and pain reliever for muscle and joint aches. It helps reduce inflammation and help heal the affected area.
  2. It is extremely beneficial for Diabetics since it naturally reduces blood glucose levels and reverses Insulin resistance.
  3. Turmeric is Anti-bacterial and rich in antioxidants, improves overall skin health.  Since it is Anti-inflammatory in nature it reduces skin irritation and redness helping with eczema and other skin ailments.
  4.  It can safely be ingested or applied topically to the affected area to provide relief. Unlike western medicines, you won’t see any benefits instantly. Continuous use over a few weeks is what it takes to start seeing any real long term results. Like any traditional Ayurveda treatments, topical application is best if turmeric powder is mixed in with Ghee (clarified butter). Ghee is used as a carrier because of its supreme penetrating qualities thus able to carry the turmeric and its healing properties deep into the tissues. 


Cons

The only negative I could come up with was that it stains easily. Chopping raw turmeric will stain your hands a deep golden yellow but fear not, washing your hands with dish washing soap will take most of the stain out. If you manage get it on your clothes, apply the dish soap liquid to the stain and put it in direct sunlight for 30 minutes and it will magically disappear.


RECIPE: Turmeric Milk
½ tsp Ghee (clarified butter)
½  Cup Regular low fat Milk or dairy free version like Soy, Almond or Coconut milk
½ Cup water
1 pinch Cinnamon
1 tsp Turmeric
1 tsp Honey (to taste, preferably local and raw)

Method
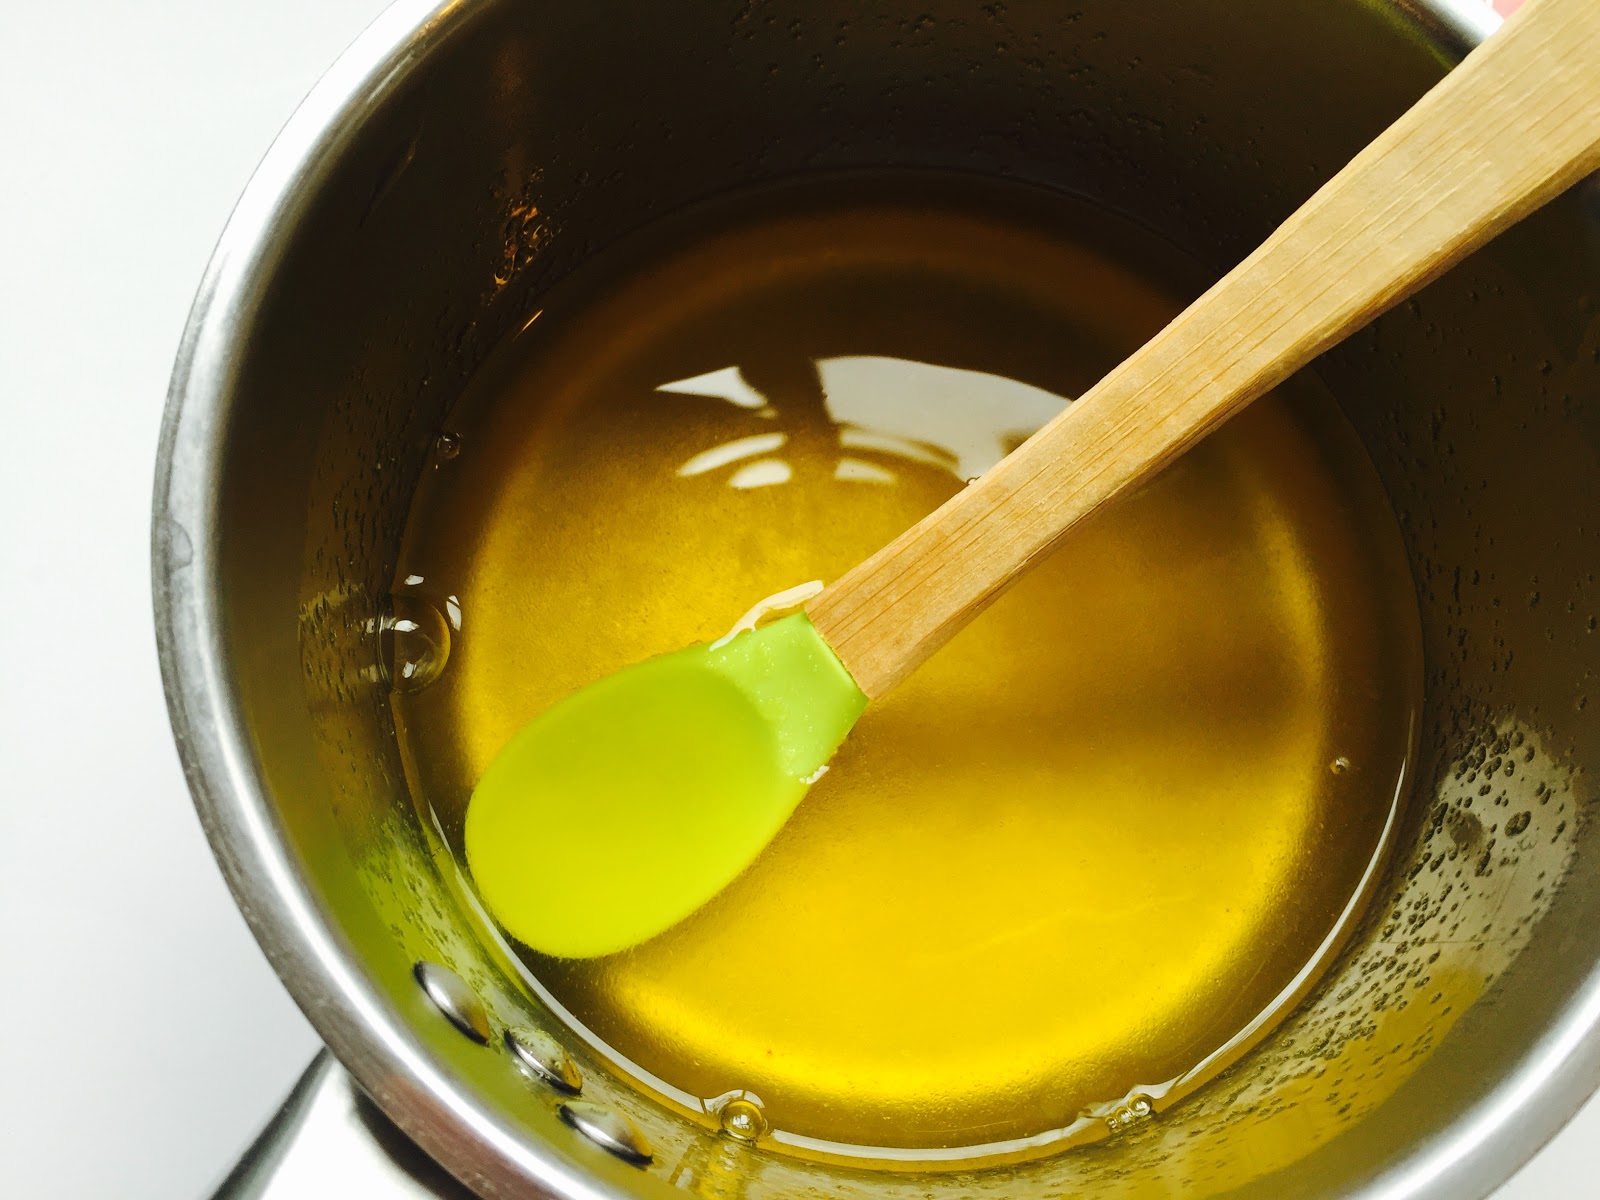
  1. Heat the Ghee in a saucepan on medium heat. Remove from heat and add the turmeric, stir it for a few seconds and make sure it does not burn. 
  2. Will only take a couple seconds.Add everything else and bring to a boil.
  3.  Pour it into a cup and drink it hot.


 RECIPE: Pickled Raw Turmeric Root


This is another great way to ingest Fresh Turmeric. Turmeric root looks a lot like Ginger root. Peel the turmeric root with a peeler, cut it into slices and then julienne it. Put it into a glass bowl that has a lid. Squeeze the juice of a lemon in it and add some salt and cayenne pepper powder and toss it all up. Use it in salads or eat it as a side with your meal. It is delicious and easy to find. Most stores like Whole Foods, Trader Joes and Asian supermarkets carry fresh Turmeric in the produce section. To purchase online click on the link, Fresh Raw Organic Turmeric Root.


Hope this was informational and helpful. 

Friday, March 25, 2016

No-Bake Chocolate and Pretzel Egg Nests

Saw this super fun idea for Easter brunch and these would make a perfect centerpiece for my table. They are not only adorable to look at but taste delicious too.

RECIPE: No-Bake Chocolate and Pretzel Egg Nests
Adapted from Nikki's website (Chefintraining.com)

Ingredients
1 bag Guittard milk chocolate chips
1 bag Guittard butterscotch chips
1 bag Alphabet pretzels (12 oz) 
peeps or small chocolate eggs to put in the nests

Method

  1. In a microwave safe bowl melt together chocolate chips and butterscotch chips in 30 second increments and stir each time. Will take you 3-4, 30 second periods to fully melt the chocolate.
  2. Stir in a couple handfuls of pretzels and coat them with the melted chocolate. Add as needed.
  3. Drop spoonfuls into a greased medium size muffin tin and mold into nest shapes.
  4. set it in the refrigerator for about an hour.
  5. Pull it out of the fridge and let it come to room temperature, will unmold a lot easier.
  6. Decorate with small eggs or peeps.


Hope you enjoy making them with your kiddos this Easter.

Monday, March 21, 2016

Pumpkin Bread (Starbucks style)

The cooler temperatures in Austin brought out the cravings for this classic Pumpkin bread. This was so moist and good that it is pretty much an any season favorite now. making is twice in one week is testament to how good it is.


RECIPE: Pumpkin Bread (Starbucks Style)
Adapted from coptkat.com

Ingredients

Dry,
1 1/2 Cups Flour
1 Cup Sugar
3/4 tsp salt
1 tsp Baking soda
1/2 tsp Nutmeg
1/4 tsp Cardamom powder
1/4 tsp Allspice
1/2 tsp Cinnamon
1/4 tsp Clove powder

Wet,
2 Eggs
1 Cup Pumpkin puree
1/2 Cup Vegetable oil
1/2 tsp Vanilla
2 Tbsp Molasses (optional)

Pumpkin seeds to garnish

Method

  1. Preheat the oven to 350 degrees
  2. Combine all the dry ingredients and mix them well
  3. Beat the eggs and the wet ingredients together. Molasses gives the bread a darker hue and I personally love the flavor it adds but its totally optional.
  4. Mix the wet and dry ingredients and mix them just enough to get rid of the lumps. Do not over mix.
  5. Pour the mix into the loaf pan that has been sprayed with some cooking spray.
  6. Sprinkle with pumpkin seeds.
  7. Bake the bread for 60 minutes or till the toothpick inserted comes out clean.
  8. Ten the pan with foil at the 30 minute mark to avoid the top getting too dark or burnt.
  9. Cool and unmould the bread onto the cooling rack.


Hope you enjoy making it and please leave me some feedback on how it turned out for you.

Friday, March 18, 2016

A Slice of Spring: Fruity Cheesecake Pie

If Cheesecake ever decided to marry a Fruit Tart, their offspring would be this deliciously creamy and Fruity Cheesecake Pie (a tad late for Pi day but better late than never). What better way to celebrate Spring with the true bounty of fresh berries and kiwi in every mouthful. With Easter around the corner, this Pie would be a perfect addition to any Brunch table.


RECIPE: Fruity Cheesecake Pie

Ingredients

Pie Base,
1 1/4 Cup Nilla Wafers, crushed (about 45-50 wafers)
1/2 stick Butter, salted

Cheesecake Filling,
8 oz Cream Cheese, softened
1/4 Cup Sugar
1 Cup Whipped Cream (I used Cool Whip)

Fruit Topping,
Strawberries, sliced
Kiwi, sliced
Blueberries
Blackberries
Raspberries

Glaze,
1 Cup ice cubes
3/4 Cup Boiling water
1 pkg Lemon Gelatin, Jello

Method


  1. Mic the melted butter and Nilla Wafer crumbs in a small bowl. Press into the bottom of a tart pan. NOTE: Take your time with this step and make sure it is very firmly packed and pressed on the bottom or it will crumble and fall apart later during slicing and serving. Place it in the fridge while you work on the filling.
  2. Beat the cream cheese with the sugar. Once it is fluffy and incorporated well. Add the whipped cream and very gently fold it in. You do not want to loose the light, fluffy texture.
  3. Spoon the mixture into the crust and level it with a spoon. Arrange the berries and kiwi on top. Place it in the fridge again while you make the glaze.
  4. In a small saucepan mic the gelatin with boiling water till it is fully dissolved. add the ice cubes till they fully melt and the mixture thickens a little. Spoon the glaze on top of the fruits and place it in the Fridge for a couple hours to set.


I have never seen a dessert disappear at this rate in my house. That should be reason enough to give it a try. Hope you have a great weekend!