Friday, March 11, 2016

Amritsari Fish Fry

Austin weather has been amazing and feels much like the monsoon season in north India. The non-stop rains and cooler temperatures bring out the inherent need for fried food and steaming Chai. Traditionally, pretty much every household and road side food stall would fry up some sizzling hot and spicy batter fried vegetable pakoras with a steaming cup of ginger laced tea while it was pouring outside. And feeling much the same way I have to whip up something batter fried, something sizzling, something spicy, something crunchy with my cup of tea ;)

Amritsar is the city that is home to The Golden Temple in the state of Punjab, India. This dish originated in Amritsar as the name suggests. Now you know what to order when you check off Golden Temple from your bucket list. I have been there a couple of times and its worth the trip and experience. The city has to offer the best North Indian food that you will ever taste.

NOTE: I prefer Catfish or Tilapia for frying but have used Cod for this recipe because it was fresh and wild and Costco was out of Tilapia . Wasn't too happy with Cod because it wasn't the best for frying so if you can use Tilapia that would be the best choice. Also, traditionally the Dish has an orange hue because of the food coloring added to it. I do not add it to mine. 


RECIPE: Amritsari Fish Fry

Ingredients


2 Lbs Fish Fillets, cut into pieces
1 Lemon
Salt to taste
2-3 TBSP Besan (chickpea flour)
1 tsp Ginger Garlic paste
Red Chilli powder to taste
2 tsp Cumin powder
1 tsp Ajwain powder (Carom Seeds, powdered)
1 TBSP Dry Fenugreek leaves, crushed
1 tsp Garam Masala
2 tsp Amchoor Powder (dry raw mango, powdered, adds a sour tang)
1 TBSP Corn Starch
1/4 Cup Greek Yogurt
1 Egg
Vegetable oil for Frying

Garnish:
Chat Masala (optional, not everyone likes the pink salt taste)
Cilantro leaves
Onion Rings
lemon wedges

Method


  1. Wash, clean, pat dry to prep the fish fillets and cut into pieces.
  2. Marinate it in the lemon juice and 1 tsp salt.
  3. Heat a small skillet and roast the chick peaflour, red chilli powder, cumin powder, garam masala on medium to low heat. You just need to roast them a little but it can burn easily hence the lower heat. Roast for 3-4 minutes by stirring continuously until you get a nice aroma from the chickpea and spice mix. Let it cool for a few minutes.
  4. In a mixing bowl mix together the yogurt, ginger and garlic paste, cornstarch, egg, ajwain (carom) powder, Amchoor (mango) powder, crushed dry fenugreek and the roast mix to make a thick batter. If needed add a little water but it should be fairly thick so it can coat the fish pieces.
  5. Coat the fish pieces in the batter and let marinate for 30 minutes.
NOTE: Most common mistake people make is to let it sit too long thinking the more it marinates the better the flavor and that might be true for most meats but not Fish. The lemon, salt and spices will cook the fish if it is left sitting too long and it will fall apart during frying. So make sure you do not let it sit too long 15-30 minutes is the window to get it to the frying stage.

6. Heat the oil in your frying pan and fry the fish in batches till golden brown. Let it drain on some paper towels.
7. Serve the steaming hot Fish on a large platter garnished with onion rings, cilantro, lemon wedges sprinkled with chat masala.


Ajwain (Carom) Seeds


Serve it hot with some Dal, Salad and piping hot Naan or Tandoori Roti. Hope you enjoy making it.

Wednesday, March 9, 2016

Quick Shrimp Curry

Really enjoying the rainy weather in Austin today. From my living room window it feels like I am sitting in a hilly vacation resort in India which brings me to my favorite topic, Food!!! 

I could eat some piping hot Malabar Shrimp Curry with steamed rice right about now and that is exactly what I am making today. This is a much easier and quicker version of the actual Malabar Shrimp curry but tastes quite similar and is my go to version when I am pressed for time or just feeling lazy ;)


RECIPE: Quick Shrimp Curry

Ingredients

1 TBSP Sunflower oil

1 Onion finely chopped
2 Tbsp Ginger, grated
6 Cloves Garlic, grated
1-2 cups English peas (use as much as needed, I like them a lot)
2 tomatoes, chopped

1 tsp Turmeric powder
1/2 tsp Chilli powder or flakes
salt to taste

1 1/2 lb Shrimp, uncooked 
1 can Coconut milk
1 lemon, sliced
1 cup Cilantro, chopped.

Method

  1. Heat the Sunflower oil and saute the onions till they are a little caramelized and starting to brown. 
  2. Add the ginger and garlic and saute for a minute or two till you can smell the aromas.
  3. lower the heat and add the dry spices, turmeric, chilli powder or flakes and let them cook for a minute. 
  4. Add the tomatoes and salt and cook till the tomatoes soften a bit. Once soft, time to add the peas and cook them for about 5 minutes while stirring the mixture often. Fresh english peas take time to cook and soften unlike the frozen sweet peas that are much sweeter and pre-cooked.
  5. Now add the Shrimp and they will turn pink in a couple of minutes. 
  6. Pour in the coconut milk and let simmer for 8-10 minutes. Stir in chopped cilantro, saving some for garnishing. Serve the lemon slices in a separate bowl and use as needed. 


Enjoy and let me know how it turned out for you. Thanks and talk to you later.

Monday, February 29, 2016

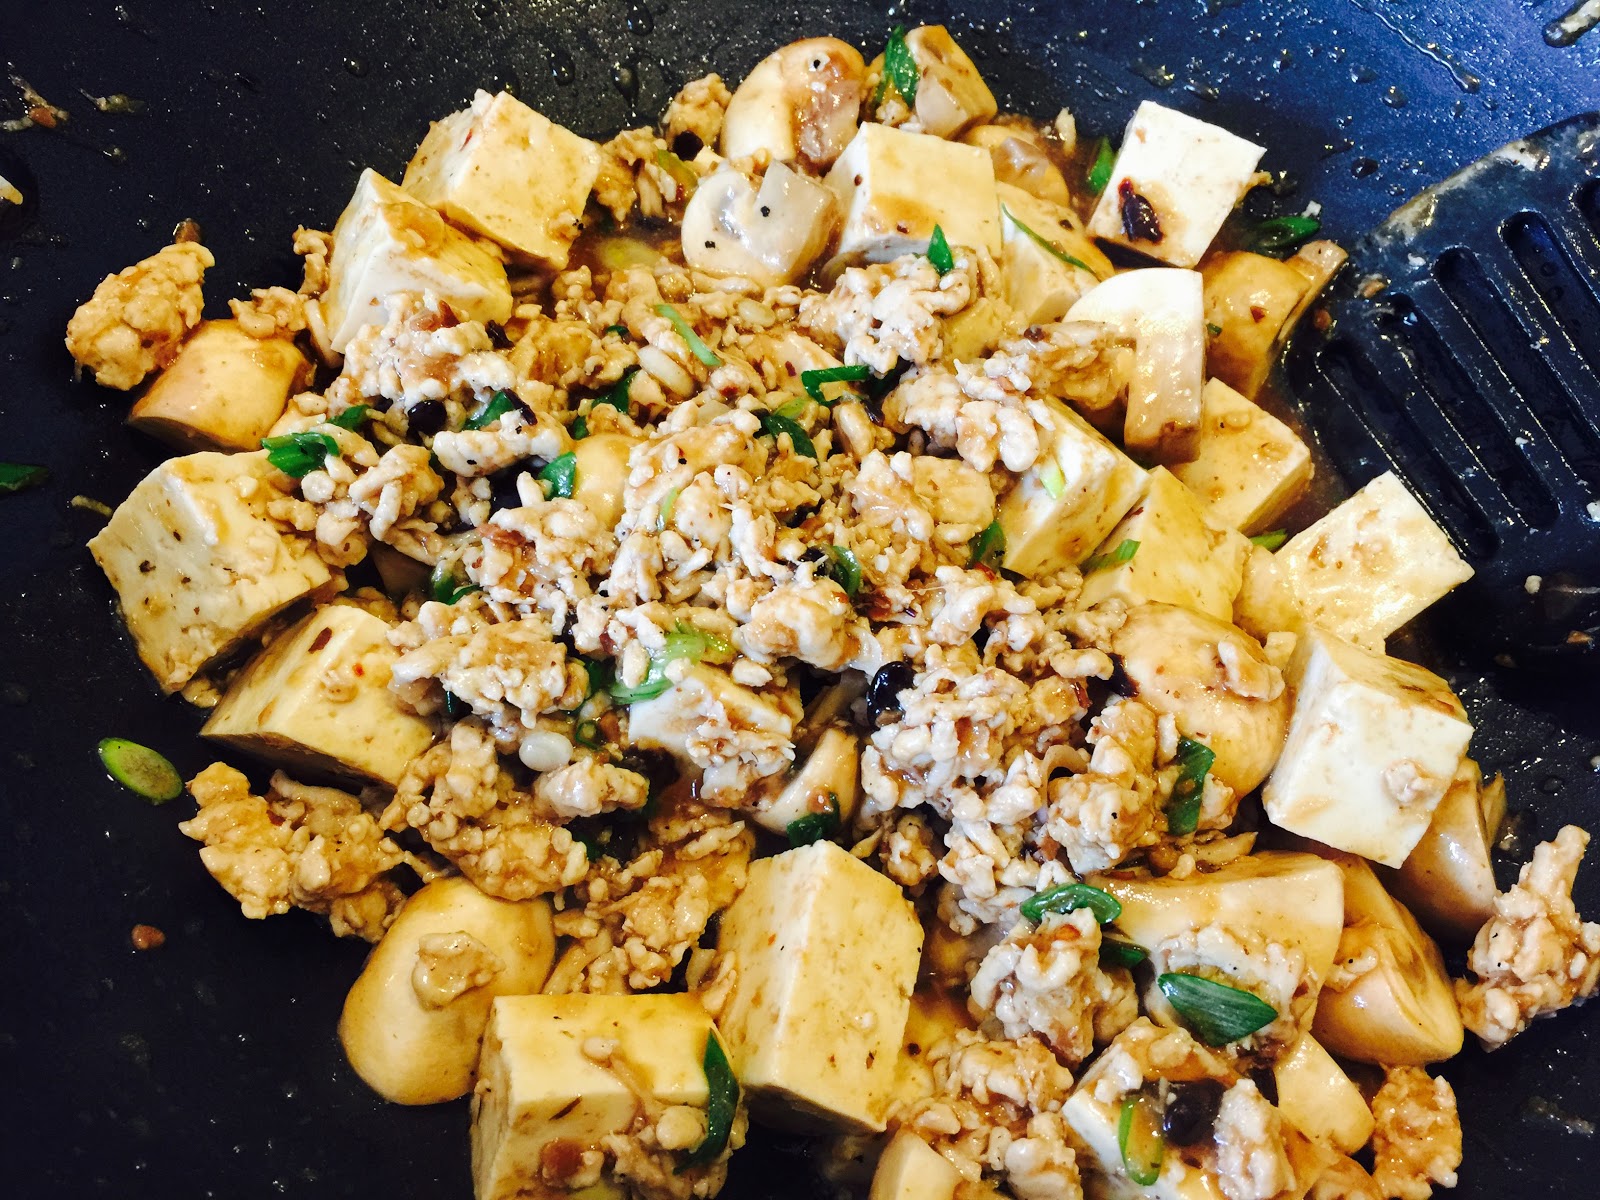
Mapo Tofu (Asian Cuisine)

This recipe can be made vegetarian as well. Omit the chicken and add extra tofu and vegetables to your liking. 


RECIPE: Mapo Tofu

Ingredients
1 pack ground chicken (I used turkey in this instance)
1/2 TBSP minced ginger
1 TBSP minced garlic
red pepper flakes to tatse
1 pack Tofu cut in 1"cubes
4-5 Button mushrooms, sliced
1 TBSP Sunflower oil (anything you have on hand will do)

For the Sauce:
2 TBSP Garlic Bean Sauce
3 TBSP Soy Sauce
3 TBSP Mirin
2 TBSP Sugar
6 TBSP Water
1/2 TBSP Sesame Oil
Salt and pepper to taste

Corn Starch:Water, 1 TBSP:1 TBSP
Green Onions, cut on bias

Method

1. Heat 1 TBSP oil. Saute ginger and garlic. Add some red pepper flakes to it.
2. Next up, add the minced meat and cook till it is opaque and a little browned.
3. Add the sliced mushrooms and cook a little.
4. While it is cooking, prepare the sauce. Add to the chicken and mix it up.
5. Add the corn starch, water mix and stir till it thicken a little.
6. Lastly, add the tofu and carefully toss it all. Garnish with green onions.


It could not be any simpler to whip it all up and serve with some steamed rice.

Monday, February 22, 2016

Mango Chutney

There would hardly be anyone who has never tried some variation of this most versatile condiment. Well, I ran out of mine (mom's handmade real stuff) that had traveled some 10,000 miles to get to me. Since making that journey was impossible I had to try and replicate the best I could. Real test will be when the kids come home and tell me if it compares to what their grandmother makes.

The versatility of Mango Chutney knows no bounds. I have served it with Cheese and crackers, as an accompaniment with an Indian meal, as a topping with roast pork, in a panini, on a ham sandwich and on a bruschetta with brie. I am sure I am missing a few other innovative ways it can be served.


RECIPE: Mango Chutney

Ingredients

2 Medium, Raw Mangoes, peeled and cubed
1 Lemon, juiced

4 TBSP White-wine vinegar
1 tsp crushed red pepper flakes (or to taste)
2 tsp roasted Cumin seeds
1/4 tsp Onion seeds (also called nigella)
6 Cloves
8-10 Peppercorns
1 1/2 tsp Salt
1 Cup Dark Brown sugar

1-2 inch piece Ginger, sliced
2 garlic cloves, crushed 
2 tsp lemon zest

Method

1. Place tha Mango cubes on a glass bowl and pour the lemon juice over it. Toss and set aside.

2. In a sauce pan, add 4 TBSP of white wine vinegar and the next 7 ingredients. Turn heat to high, once it is boiling turn the heat to low and simmer for 15 minutes. It should gwt fairly bubbly and thick.

3. Now add the Mango pieces, ginger, garlic and lemon zest to it. Toss it all and again let it cook for 15-20 minutes. The mangoes will turn a little translucent and pulpy. 

4. Let it cool completely and transfer to a storage glass jar. Ready to use as needed. I would store it in the refrigerator.


Hope you enjoy making it and leave me comments on how it turned out for you.

Thanks and Happy Monday!